


How to wash microgreens? This is an essential step in preparing these nutrient-dense greens for consumption. Microgreens are young plants that are harvested when they are only a few inches tall, making them delicate and prone to damage. Proper washing ensures that any dirt, debris, or bacteria on the surface of the greens are removed, making them safe to eat.

Before washing microgreens, it is important to prepare and harvest them properly. Microgreens are typically grown in soil or other growing mediums, which means they can contain dirt, sand, or other debris. When harvesting, be sure to handle the greens gently to avoid damaging them. Once harvested, remove any large stems or debris from the greens before washing.
Jump to:
If you're curious about how to wash microgreens, there are a few different methods you can use. Some people prefer to rinse them under cool, running water, while others soak them in a bowl of water before rinsing. Whichever method you choose, be sure to handle the greens gently to avoid damaging them. After washing, be sure to dry the greens thoroughly to prevent them from becoming mushy.
Key Takeaways
- Proper preparation and harvesting of microgreens is essential before washing them.
- There are different methods for washing microgreens, but be sure to handle them gently to avoid damaging them.
- Thoroughly drying microgreens after washing is important to prevent them from becoming mushy.
Preparation and Harvesting of Microgreens
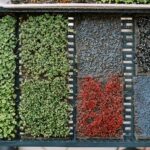
Growing microgreens is a fun and rewarding activity that can be done in a small space with minimal investment. Before you start growing microgreens, you need to prepare the soil, seeds, and growing medium.
Harvesting Techniques
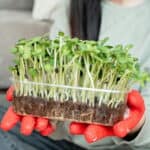
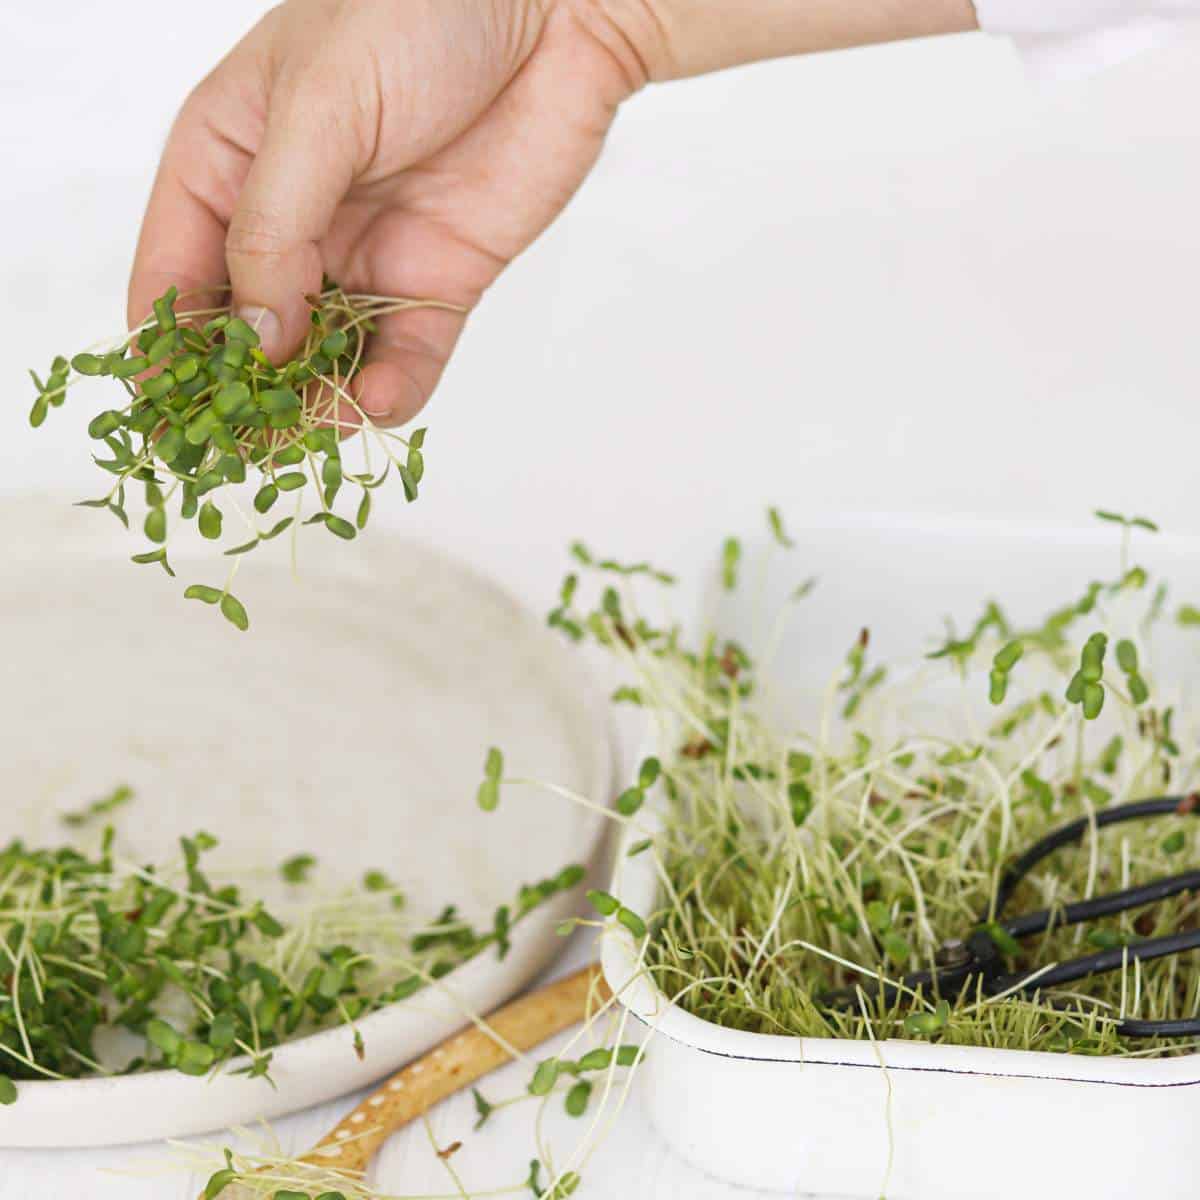
Harvesting your microgreens is an important step in the process. It is essential to harvest them at the right time to ensure the best flavor and nutritional value. There are several harvesting techniques you can use, including:
- Scissors: The simplest way to harvest microgreens is with scissors. Hold a section of the greens you're harvesting in one hand and cut about one inch above the soil line with the other.
- Micro-pruners: Micro-pruners are similar to scissors but have a shorter blade. They are ideal for harvesting small microgreens.
- Sharp knife: A sharp knife is useful for harvesting larger microgreens. Hold a section of the greens you're harvesting in one hand and cut about one inch above the soil line with the other.
Assessing Freshness and Quality
Assessing the freshness and quality of your microgreens is an essential step in the harvesting process. Here are some tips to help you assess the freshness and quality of your microgreens:
- Look at the color: Fresh microgreens should be vibrant in color. If the microgreens have started to wilt or turn brown, they are past their prime.
- Smell the microgreens: Fresh microgreens should have a clean, fresh smell. If they have a musty or unpleasant odor, they are no longer fresh.
- Taste the microgreens: The best way to assess the quality of your microgreens is to taste them. Fresh microgreens should have a crisp texture and a slightly sweet, nutty flavor.
- Check for mold or other signs of spoilage: If you notice mold or other signs of spoilage on your microgreens, discard them immediately.
Washing of Harvested Microgreens
Here are some effective washing methods that you can use to clean your microgreens.
Effective Washing Methods
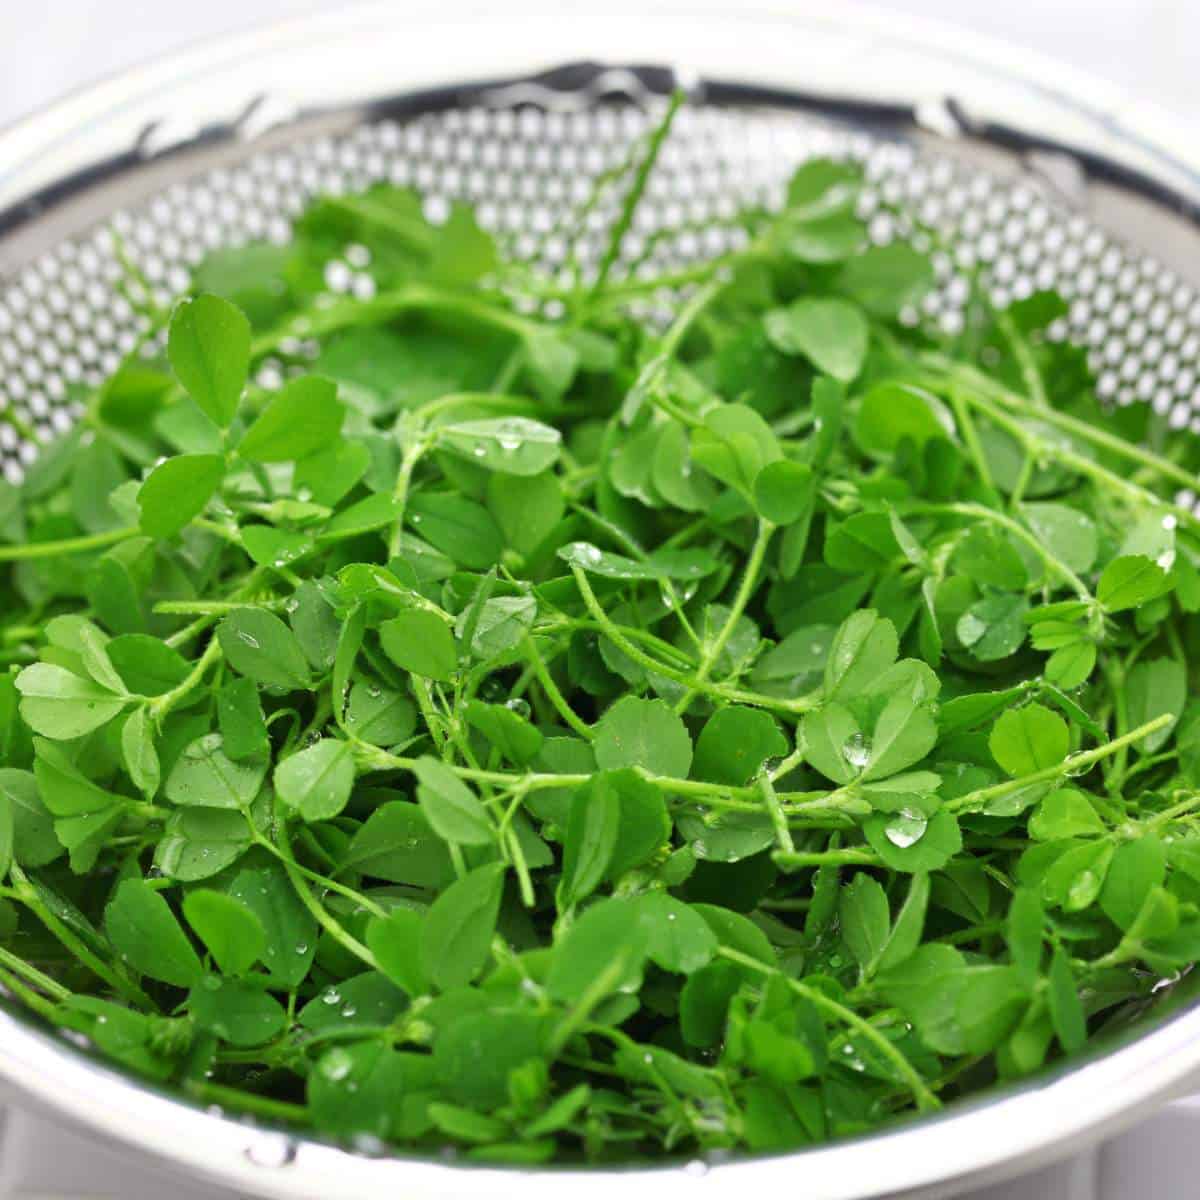
- Rinsing under running water: Put your microgreens in a strainer and rinse them under running water. Make sure to move them around to ensure they are all thoroughly washed. You can use a large bowl to rinse them if you don't have a strainer.
- Soaking in water: Fill a large bowl with water and put your microgreens in it. Let them soak for a few minutes to loosen any dirt or debris. After soaking, rinse them under running water to remove any remaining dirt.
- Using a salad spinner: Place your microgreens in a salad spinner and rinse them under running water. Then, spin them dry to remove any excess water.
Drying the Greens
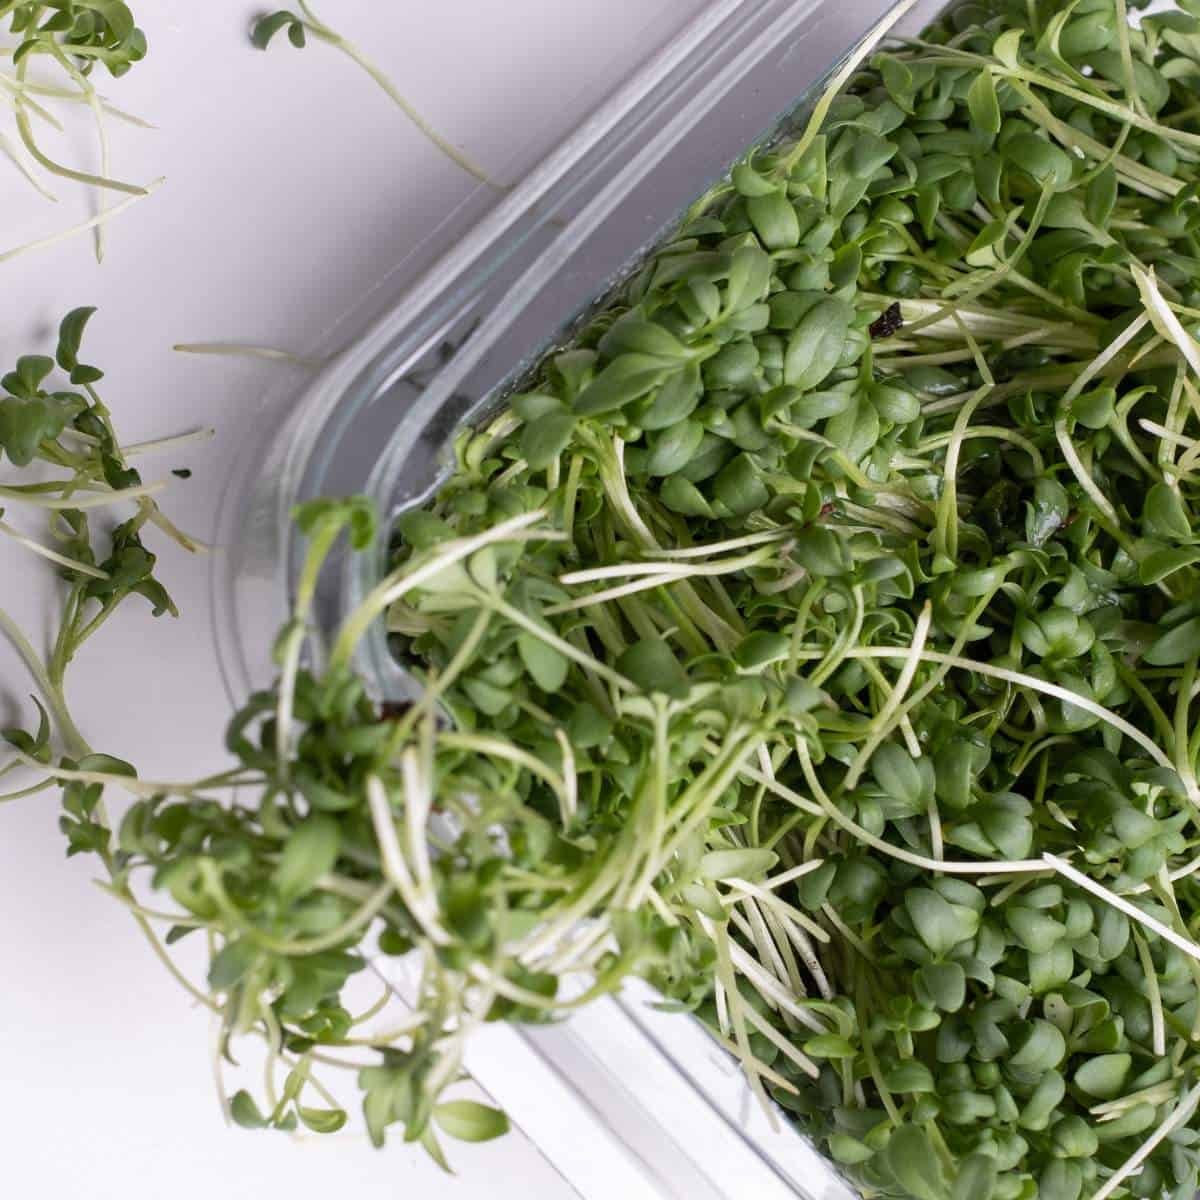
After washing, it's important to dry the microgreens thoroughly to prevent any potential contaminants from growing. Here are some methods to dry your microgreens:
- Using paper towels: Place your microgreens on a paper towel and gently pat them dry. You can also put another paper towel on top and press down to remove excess water.
- Using a clean dish towel: Lay it on a flat surface and spread your microgreens on it. Gently pat them dry with another clean dish towel.
- Air-drying: Place your microgreens on a tray and let them air dry for a few hours. Make sure to keep them in a clean and dry area.
Preventing Contamination
To prevent any potential contaminants from growing on your microgreens, make sure to follow these tips:
- Use clean scissors or a knife: When harvesting your microgreens, make sure to use clean scissors or a knife to prevent any potential contaminants from transferring onto your greens.
- Clean your growing tray: Before growing your microgreens, make sure to clean your growing tray thoroughly to prevent any potential contaminants from growing.
- Scrubbing the sink: After washing your microgreens, make sure to scrub your sink to remove any potential contaminants.
By following these effective washing methods and preventing contamination, you can enjoy your microgreens, knowing they are clean and safe to eat.
Proper Storage of Microgreens
When it comes to storing microgreens, it is important to take certain measures to ensure maximum freshness and flavor. Here are some tips on the best types of containers, storage areas, and methods for refrigerating or dehydrating microgreens.
Best Types of Containers
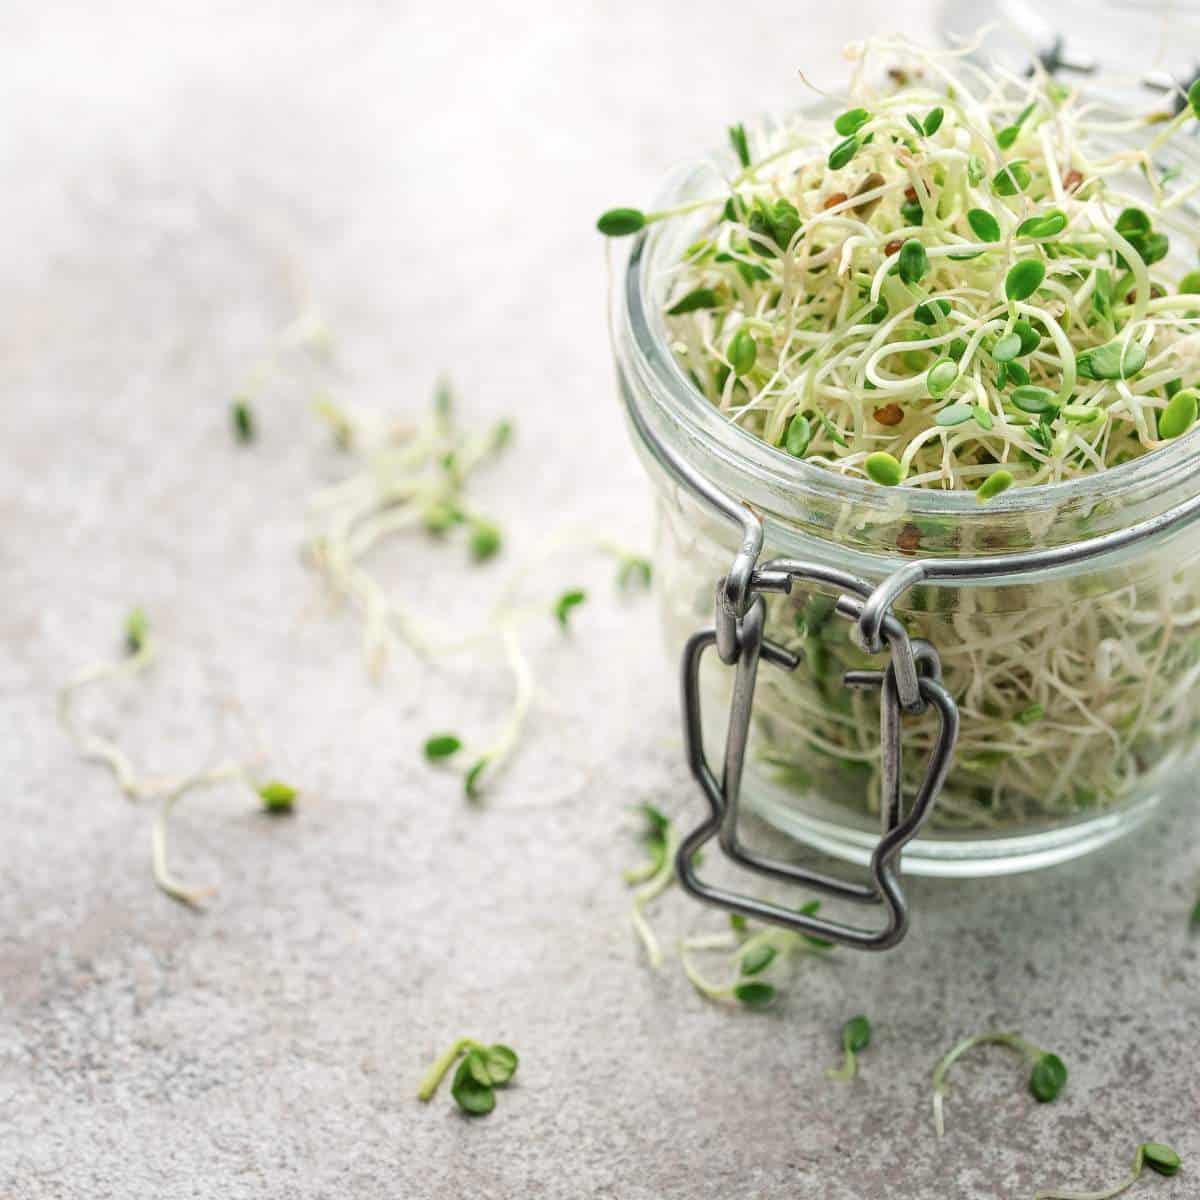
The best containers for storing microgreens are airtight and have drainage holes. This allows for proper air circulation and drainage, which helps prevent mold and spoilage. You can use a variety of containers such as plastic containers, resealable bags, or glass jars. However, make sure to avoid using containers that are too big for your microgreens, as this can cause them to wilt and lose flavor.
Best Storage Area
When storing microgreens, it is important to keep them in a cool, dark place away from direct sunlight. Direct sunlight can cause them to wilt and lose flavor. You can store them in a pantry or cupboard if it is not too warm or humid. If you have a refrigerator, this is also a great place to store microgreens.
Refrigerating vs Dehydrating Microgreens
Placing the microgreens in the fridge or freezer is the best way to store them if you want to keep them fresh for a longer period of time. However, if you want to preserve them even longer, you can dehydrate them. To dehydrate microgreens, spread them out on a dehydrator tray and dry them at a low temperature until completely dry. Once dry, you can store them in an airtight container in a cool, dark place.
In conclusion, proper storage of microgreens is essential to maintain their freshness and flavor. By using the right containers, storage areas, and methods, you can extend the shelf life of your microgreens and enjoy them for longer.
Comments
No Comments