• Skip to primary navigation
  • Skip to main content
  • Skip to primary sidebar
The Wonderful World of Sprouts logo
  • About
  • Subscribe
  • Site Index
  • Shop
  • Contact Us
menu icon
go to homepage
  • About
  • Subscribe
  • Site Index
  • Shop
  • Contact Us
subscribe
search icon
Homepage link
  • About
  • Subscribe
  • Site Index
  • Shop
  • Contact Us
×
  • Trays containing different types of seedlings in various colors and stages of growth arranged in neat rectangular sections.
    6 Best Growing Mats for Microgreens
  • A person in an apron harvests microgreens from a tray lined with parchment paper, using it as a growing medium for microgreens, with potted plants visible in the background on a kitchen counter.
    5 Best Growing Mediums for Microgreens
  • A person wearing orange gloves is sitting on the floor indoors, handling potted green plants with a beige sofa in the background.
    Best Seeds for Sprouting at Home (With Tips for Each One)
  • Two slices of toast topped with avocado, tomato, mushrooms, sprouts, and one with sliced boiled egg, served on a dark plate.
    How to Use Sprouts in Smoothies, Sandwiches, and Snacks
  • Three different types of microgreens, including green and purple varieties, are arranged in rows on a dark textured surface.
    9 Most Nutritious and Healthiest Microgreens to Eat Daily, Backed by Science
  • A close-up of a plant-based dish featuring chickpeas, leafy greens, sliced tomato, a lemon wedge, sprouts, and an edible flower.
    12 Best Microgreens to Eat for Flavor and Nutrition (Ranked and Explained)
  • Close-up of seed germination, showing brown seeds and white sprouting roots on a dark, moist surface, with some dense white fuzz among the green sprouts.
    Why Your Sprouts Are Fuzzy — And When to Worry
  • Person wearing red gloves holds a clear plastic container of green microgreens, showing roots and stems growing in soil.
    What to Do With Leftover Sprouts — And Why You Shouldn’t Toss Them
  • A person arranges fresh microgreens on a table with pears and an amber glass jar nearby, showcasing the lush harvest achieved using the best grow lights for microgreens.
    Best Grow Lights for Microgreens That Actually Work
  • Whole almonds and walnut pieces, perfect for sprouting nuts and seeds, are scattered on a beige surface, with two wooden spoons holding some of the nuts.
    A Guide to Sprouting Nuts and Seeds
  • A top view of various leafy green herbs arranged in rows next to three small gardening tools on a white background, with hands visible at the top and bottom—perfect inspiration for learning how to grow microgreens without soil.
    How to Grow Microgreens Without Soil
  • A close-up of green sunflower sprouts with black seed coats, growing densely in a clear plastic container, showcases how the best sprouting trays support healthy and abundant growth.
    5 Best Sprouting Trays for Easy Home Growing
Home » How to Sprout

How to Sprout Chickpeas

Published: Feb 9, 2026 by Kristen Wood · Disclaimer: As an Amazon Associate I earn from qualifying purchases.

Jump to Recipe -

If you’re looking for a simple, reliable way to make sprouted chickpeas at home, you’re in the right place. This method uses just dried chickpeas, water, and a little time, no special equipment required. I’ve tested this process many times, and it’s an easy, low-effort way to get fresh sprouted chickpeas for salads, bowls, and cooking!

A glass jar filled with dried chickpeas sits on a yellow surface, with several chickpeas scattered outside the jar—perfect for demonstrating how to sprout chickpeas at home.
Learn about the best bean sprouting equipment

What are Chickpea Sprouts?

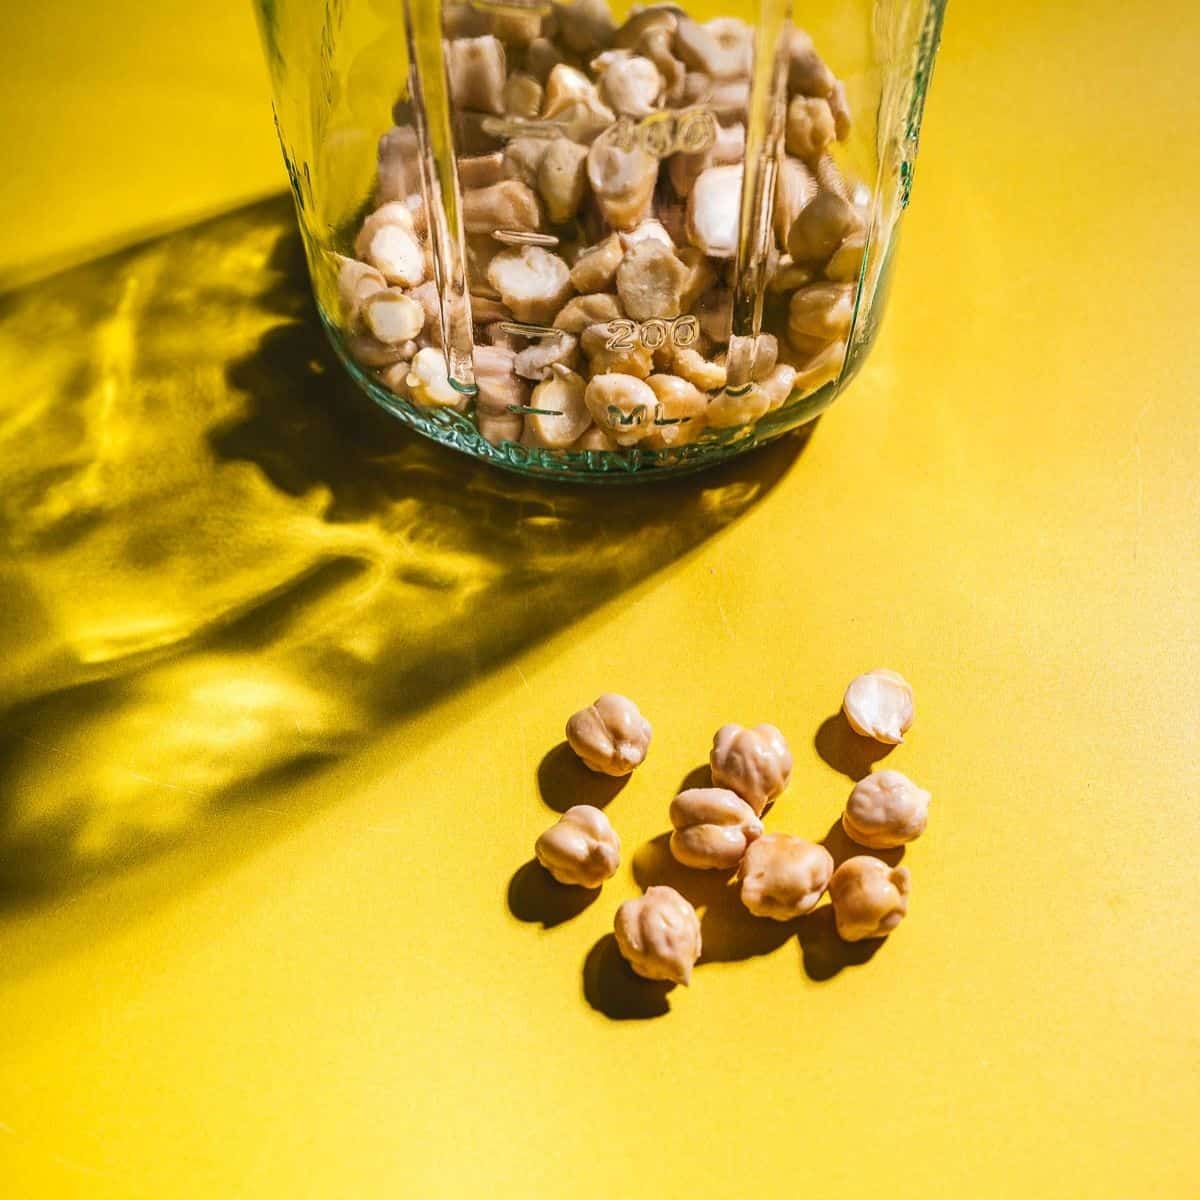
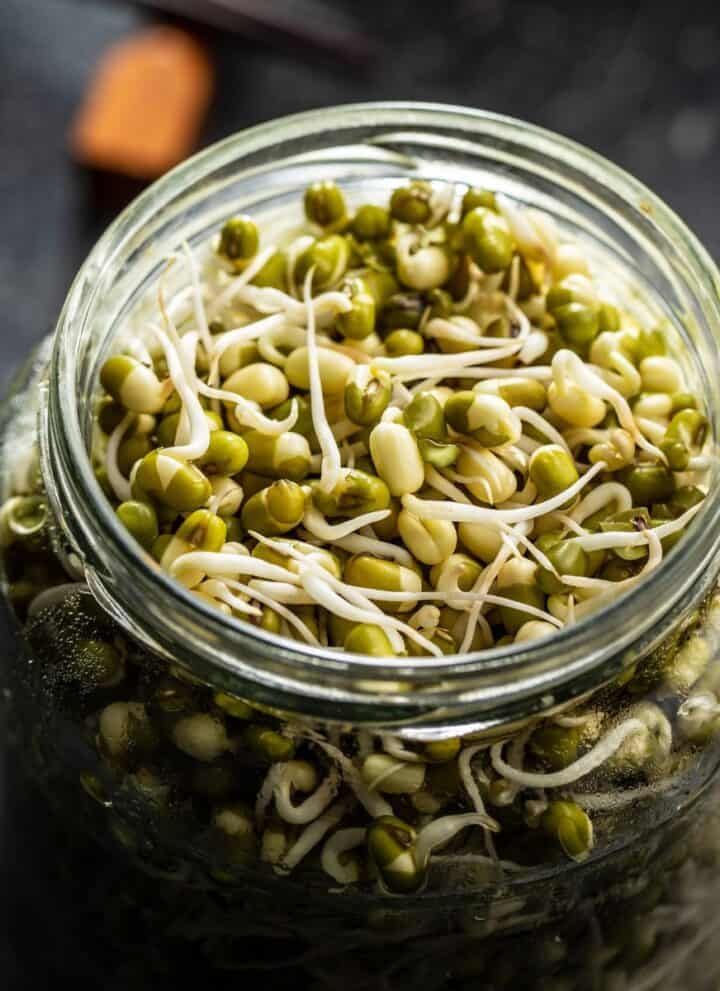
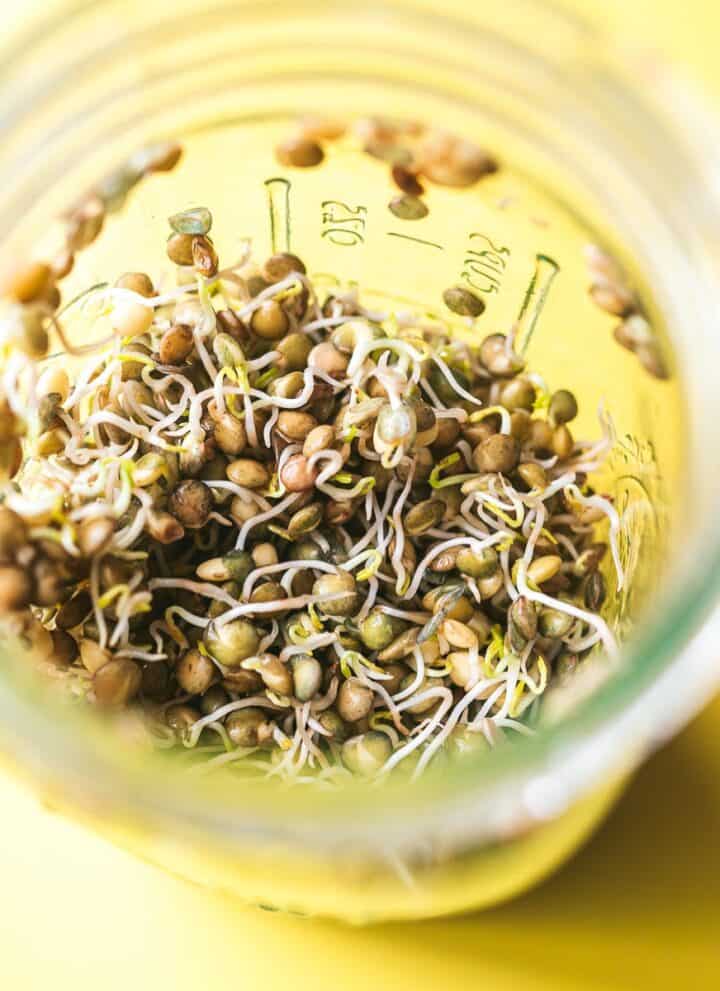
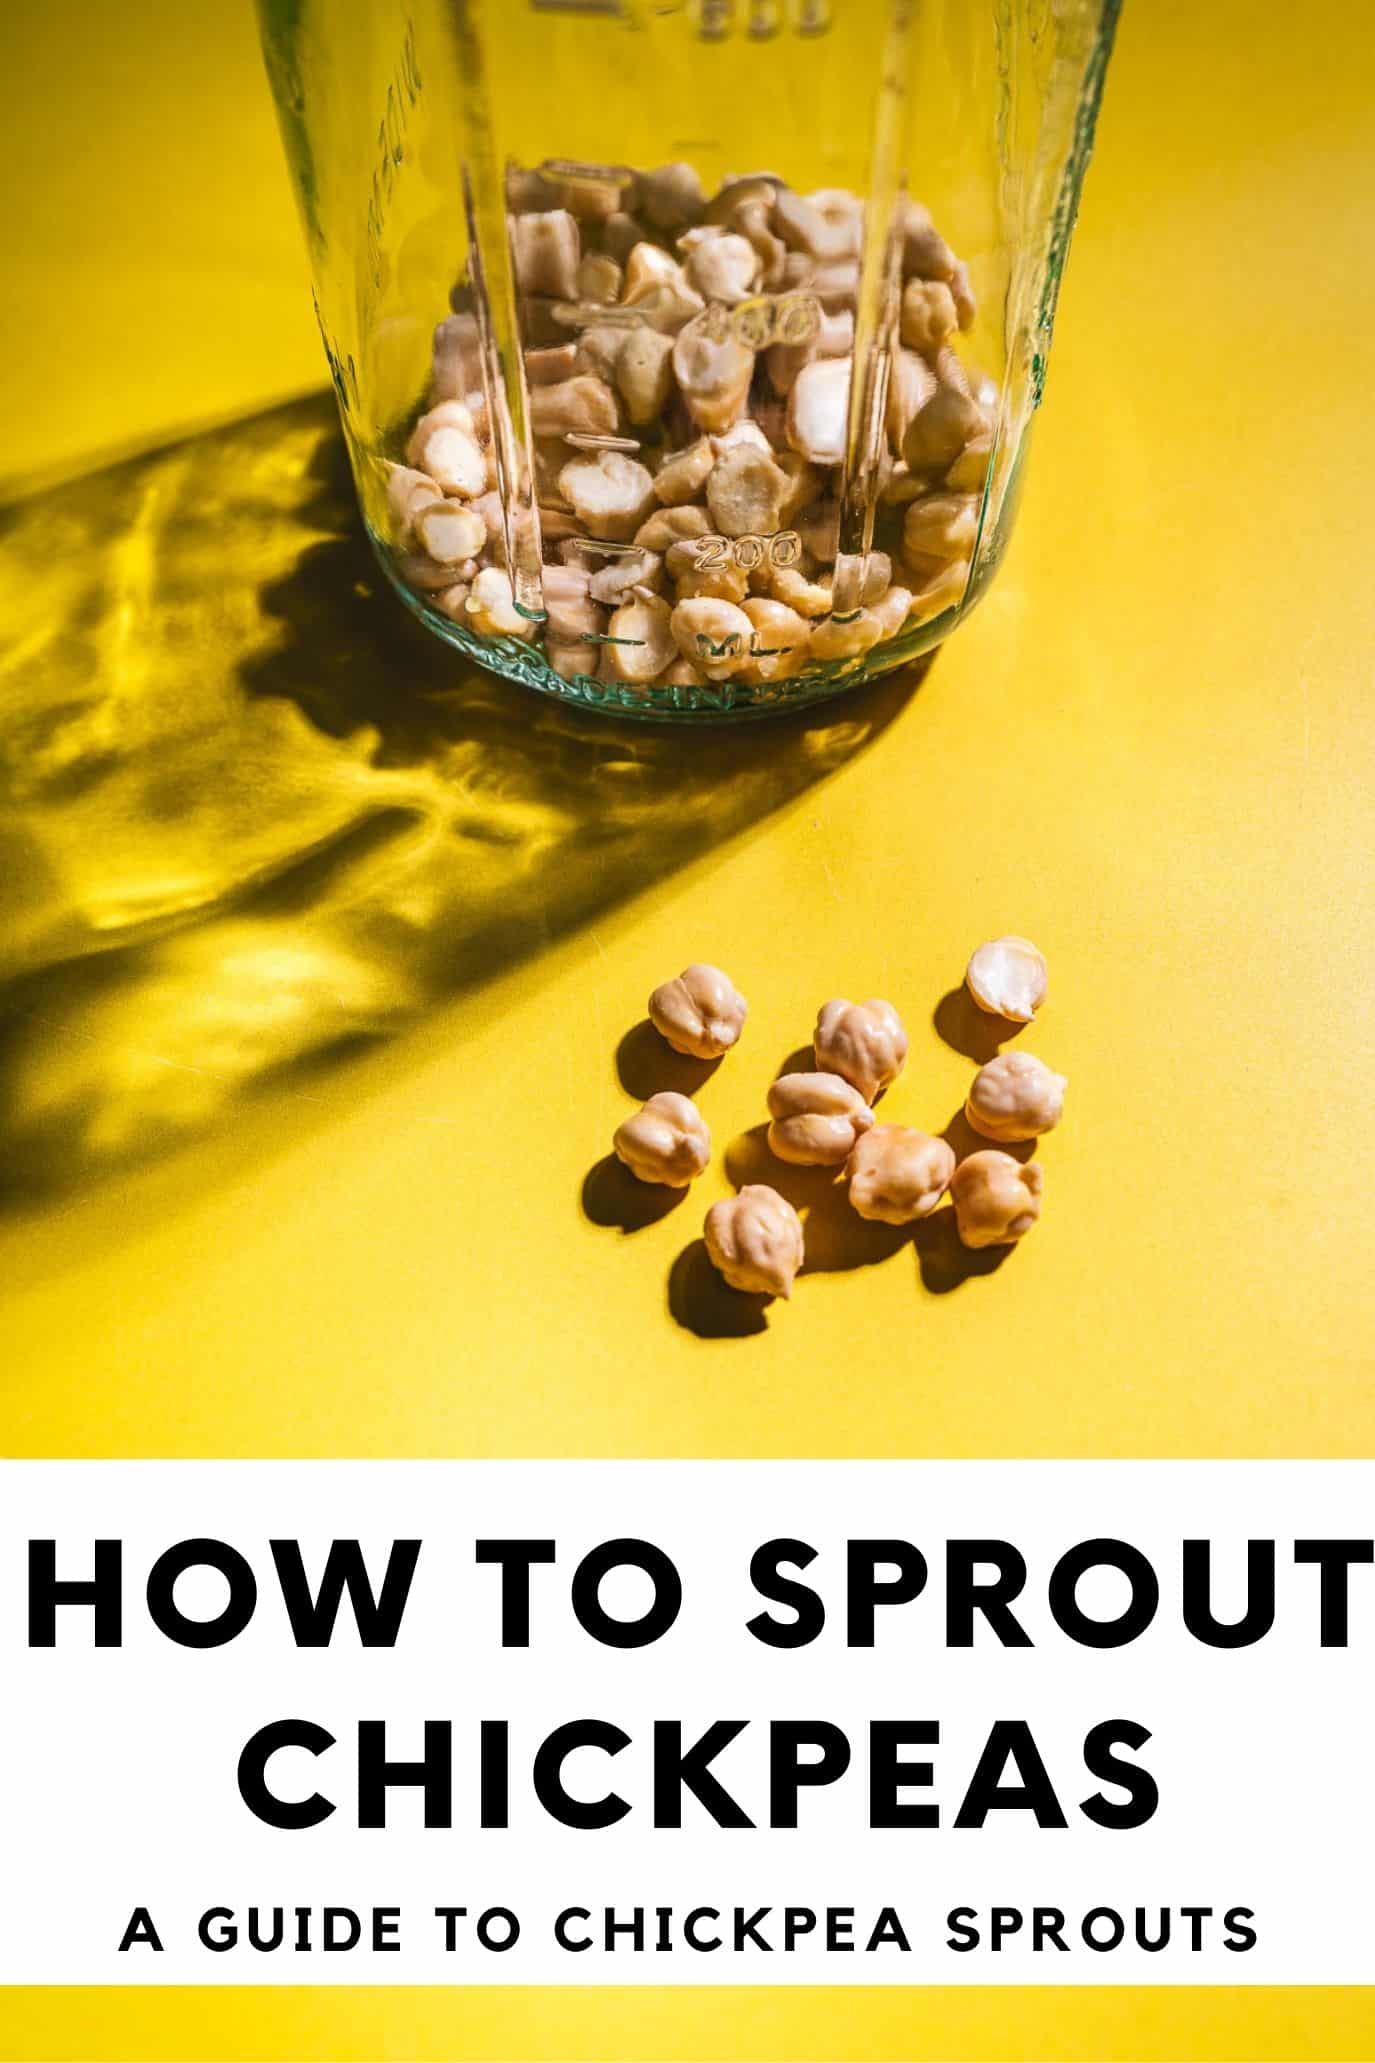
These are garbanzo beans that have been soaked in water and allowed to germinate for up to 3-4 days. Small white shoots emerge from the beans, giving them a crisp appearance and a slightly crunchy texture. 

The germination process enhances their flavor and boosts their nutrition. It also makes them easier to digest than raw chickpeas because sprouting removes phytic acid and other anti-nutrients that may cause digestive problems. 

Chickpea sprouts are a great addition to many dishes and cuisines. They can be eaten raw or lightly boiled/cooked. 

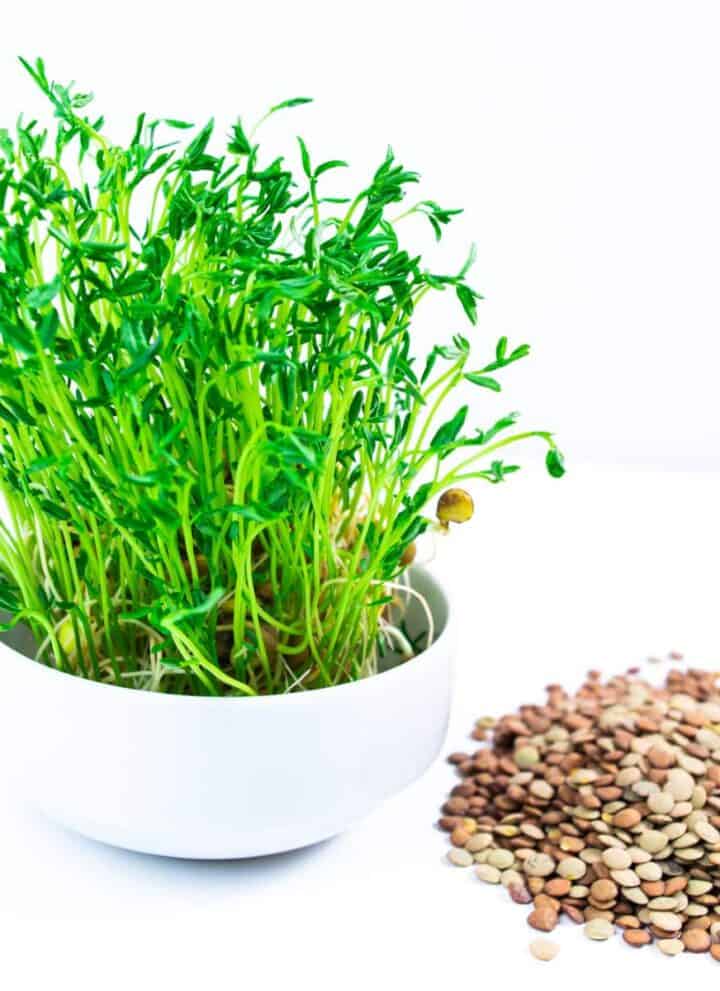
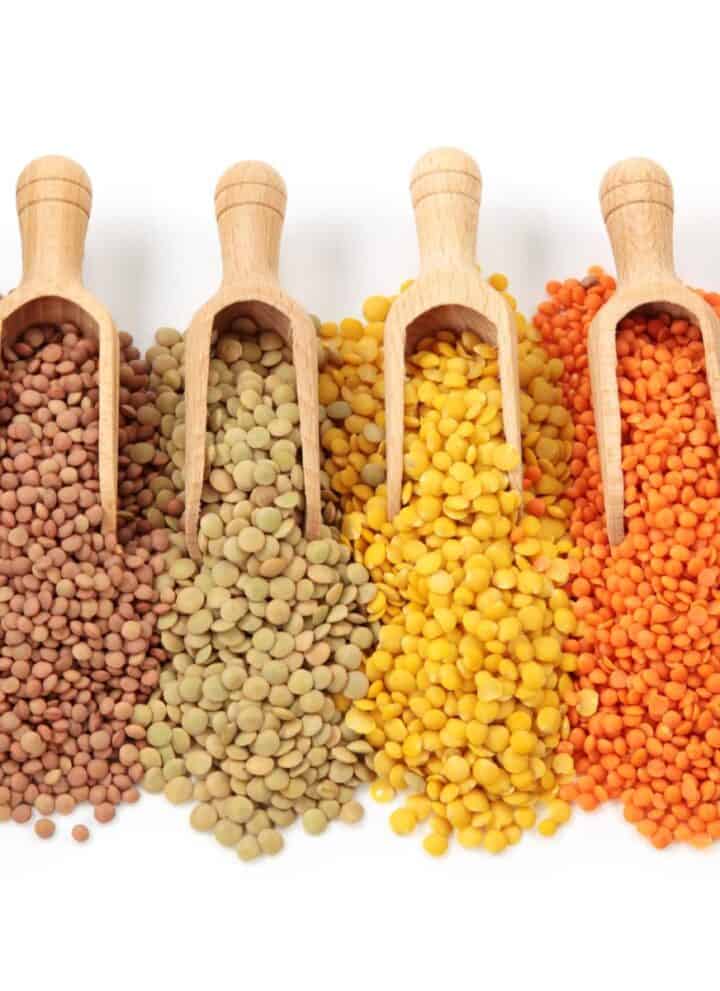
Chickpeas belong to the same legume family as lentils, adzuki beans, soybeans, and peanuts.

A glass jar with dried chickpeas inside sits on a yellow surface, several chickpeas scattered outside—perfect for learning how to sprout chickpeas at home.

Types of Chickpea Sprouts

The two main types of chickpeas used for sprouting are:

Desi: These chickpeas are smaller, darker, and have a rough coat. They’re often used in dishes in India and the Middle East.  

Kabuli: These chickpeas are larger, lighter in color, and very common in the United States. 

While both types can be sprouted, Kabuli chickpeas are typically preferred for their mild flavor and larger sprouts.

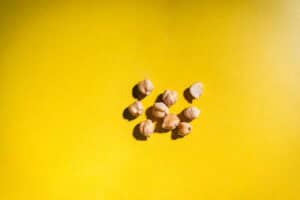
Tip: Always use uncooked chickpeas in their raw form, as canned or cooked varieties will not sprout. Additionally, some dried chickpeas purchased from regular grocery stores have been processed in a way that prevents them from sprouting.

For best results, select dried chickpeas that are raw, organic, whole, and sold by sprouting companies or purchased from bulk bins at natural food stores or labeled as suitable for sprouting.

Nine chickpeas, perfect for learning how to sprout chickpeas, are scattered on a bright yellow surface, each casting a small shadow.

How to Sprout Chickpeas

Three-panel image showing how to sprout chickpeas in a jar: Day 1—dry chickpeas, Day 2—plumper chickpeas, Day 3—chickpeas removed from the jar, appearing swollen against a yellow background.
  1. Rinse the chickpeas under cool water to wash away any residue.
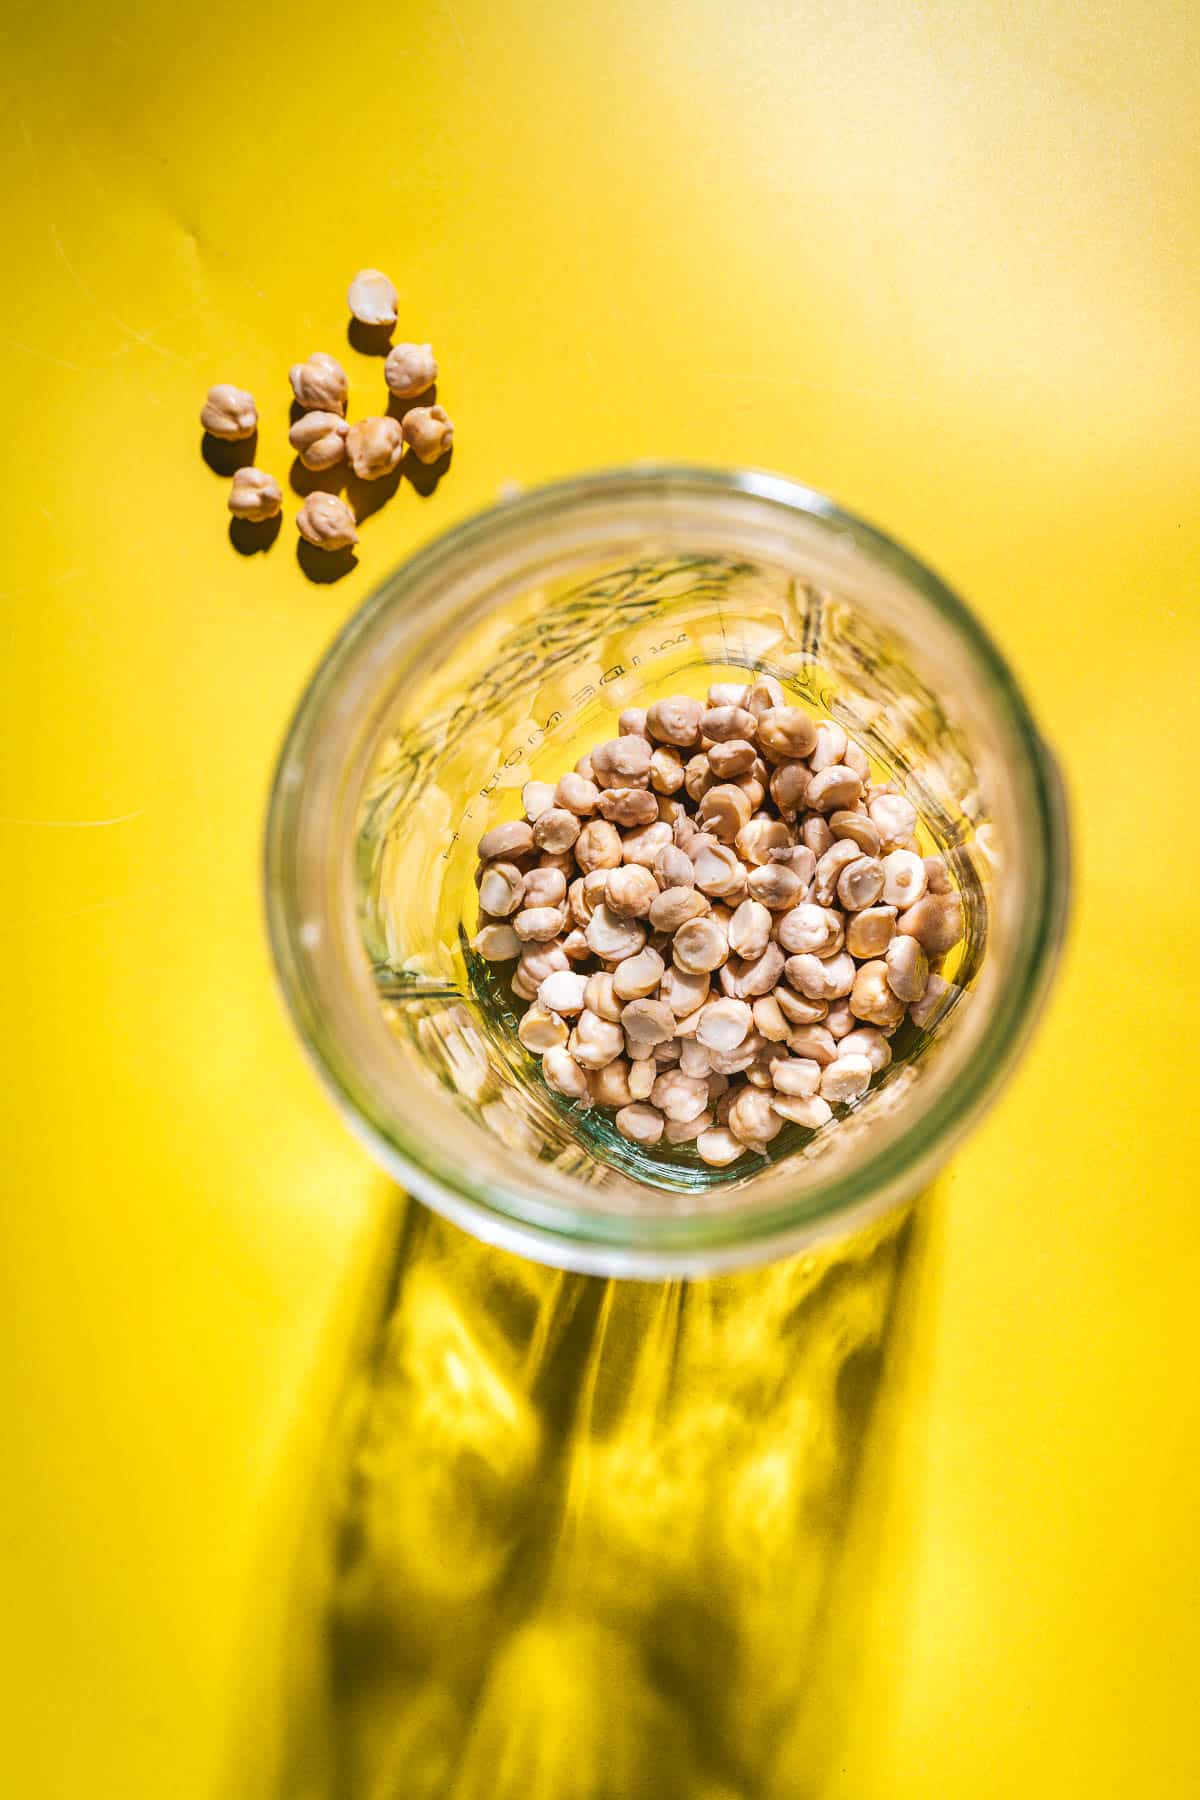
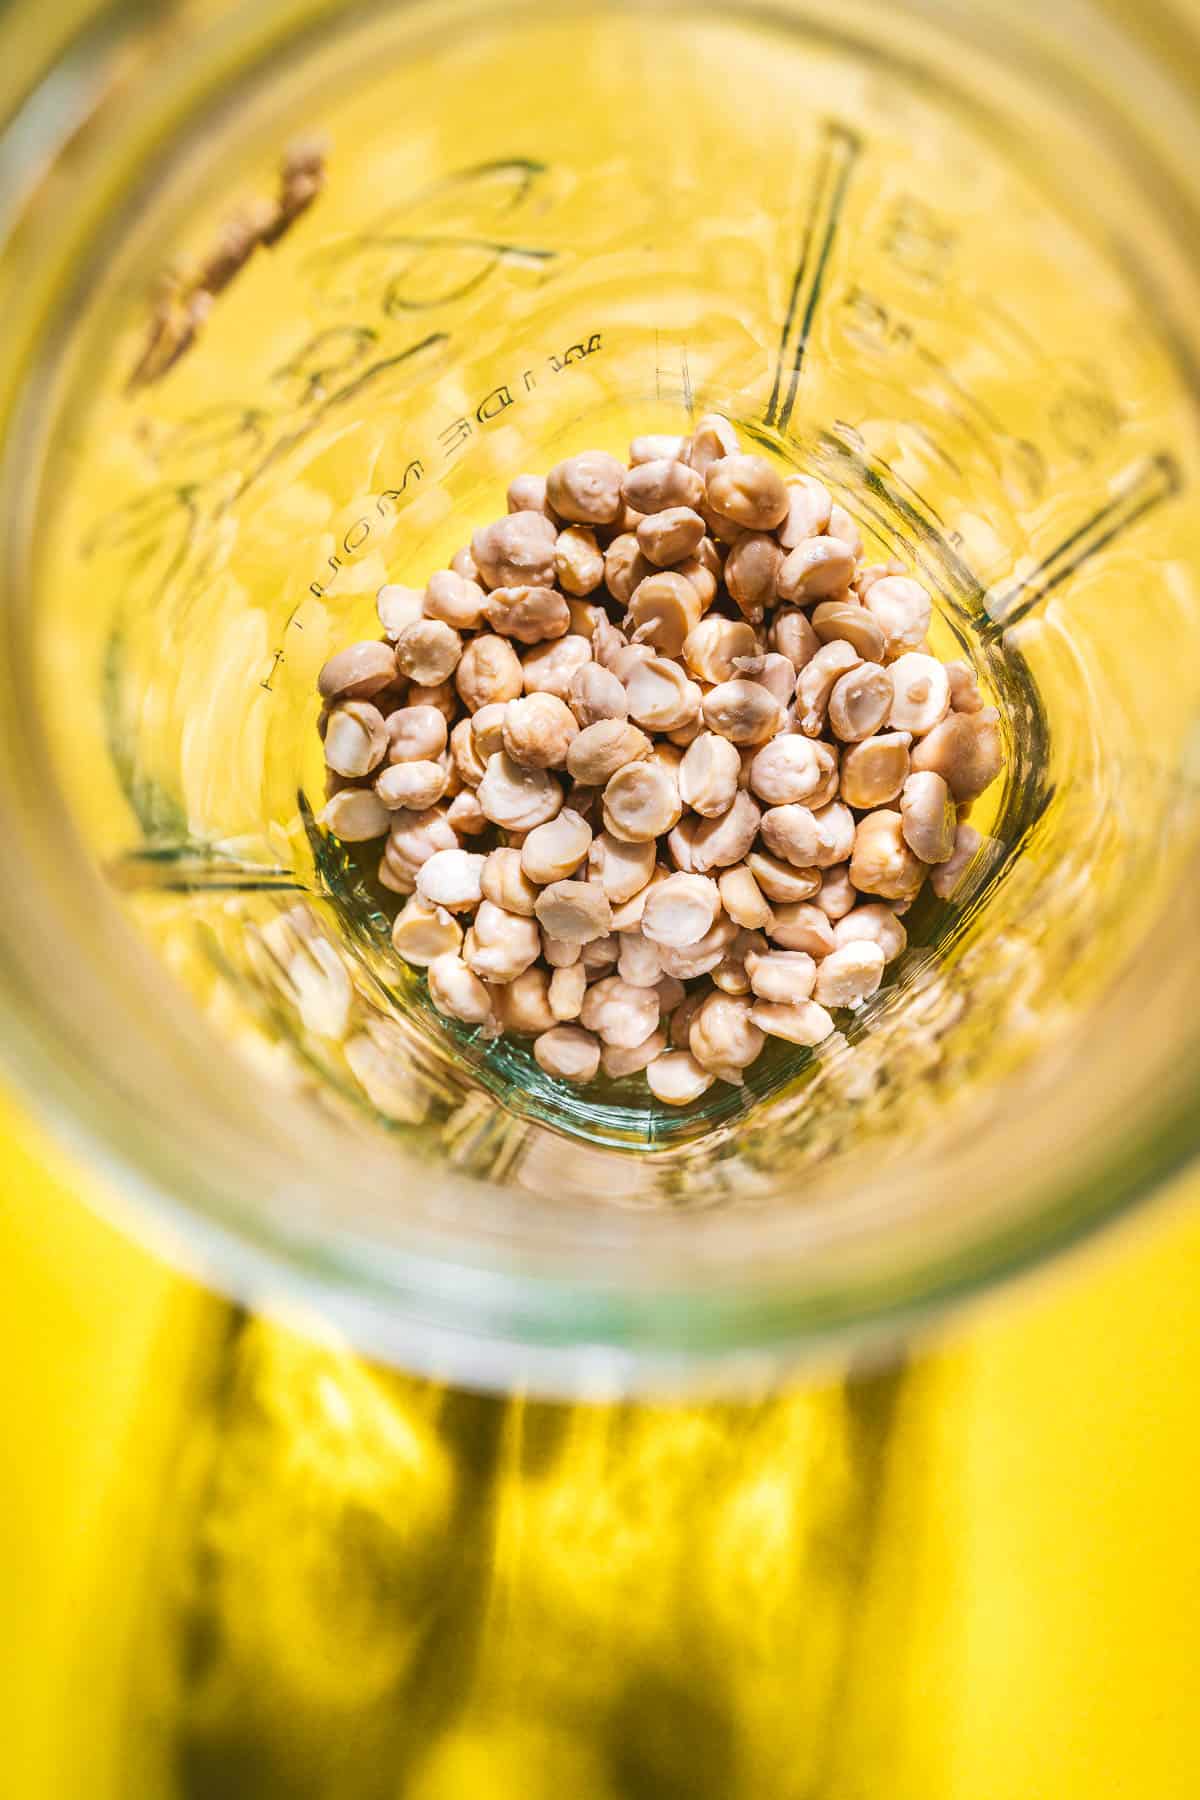
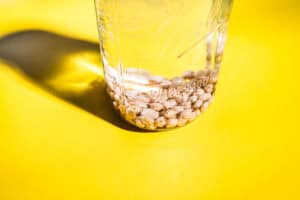
  2. Transfer them to a clean jar or bowl and add enough filtered water to cover by a few inches. They’ll swell as they soak.
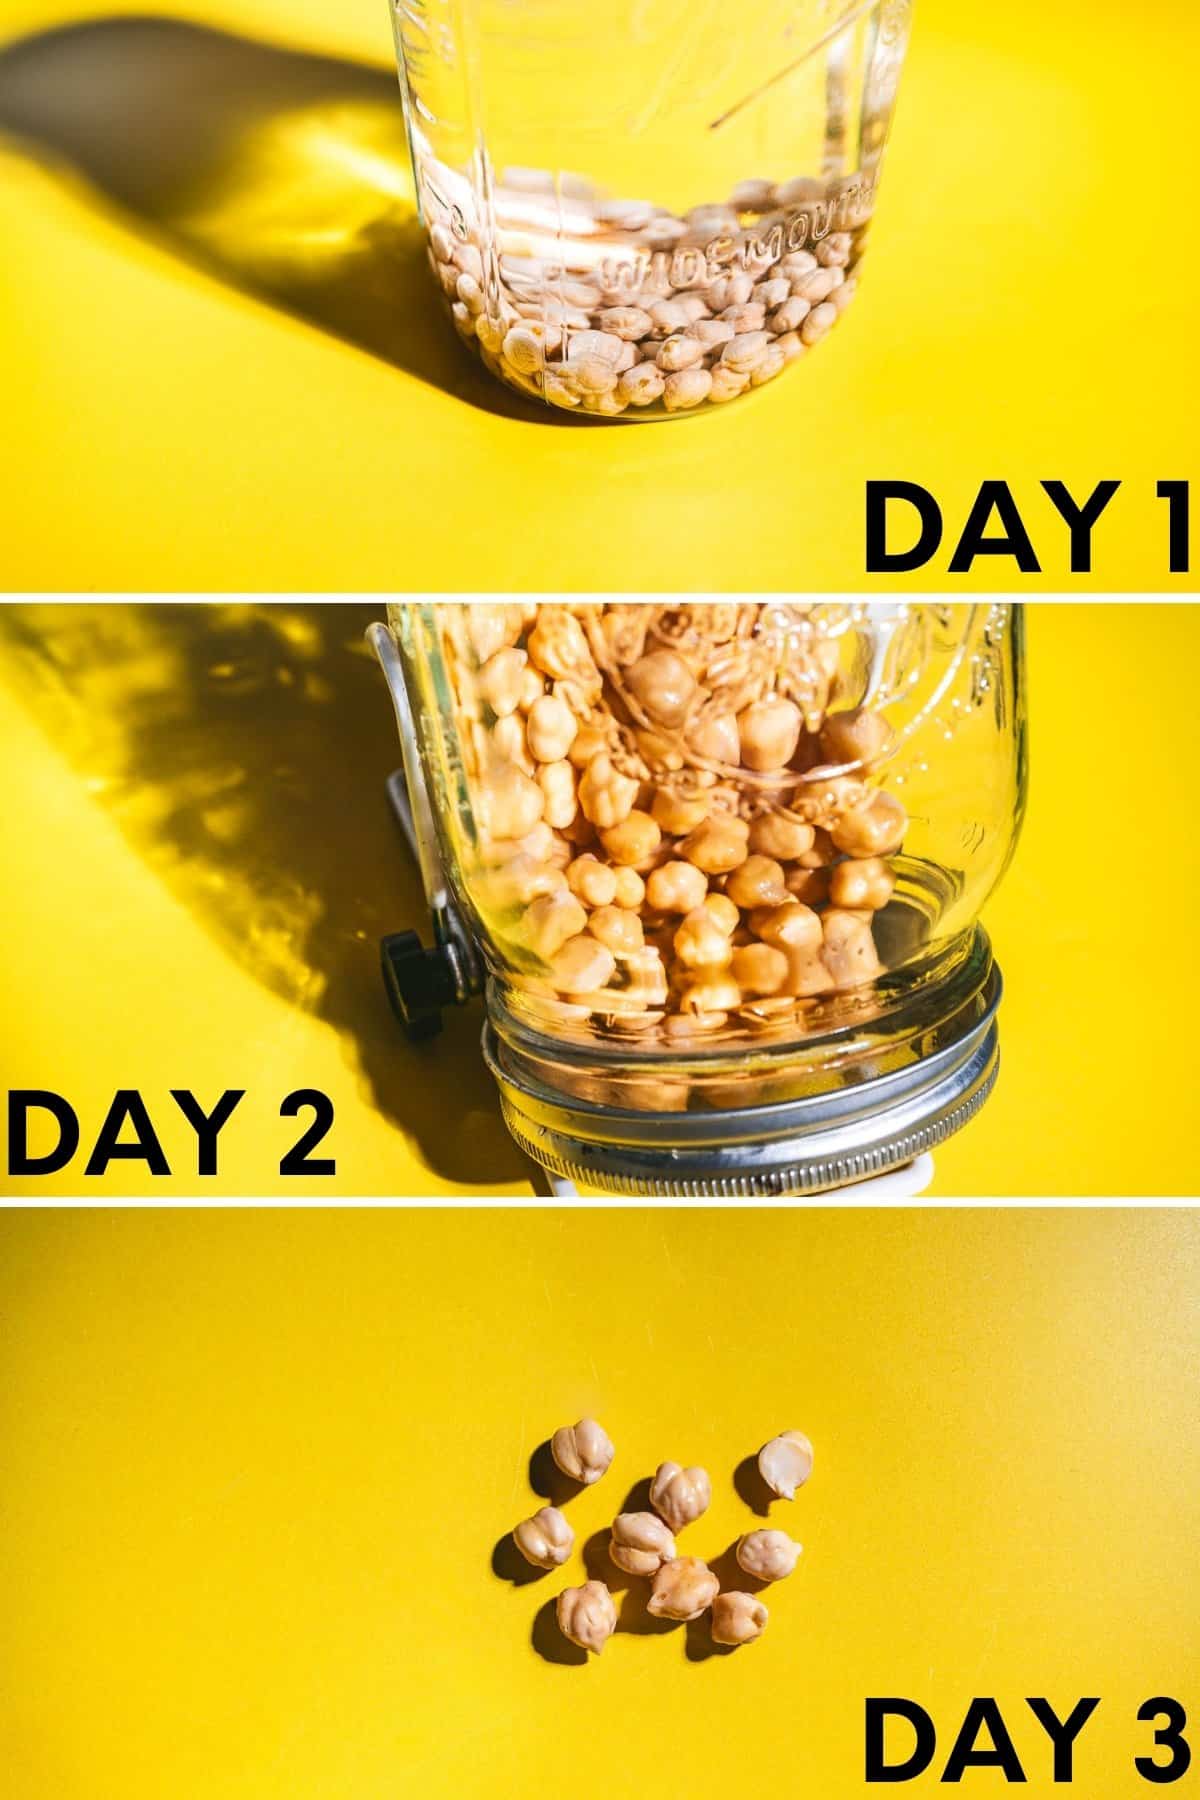
  3. Soak at room temperature for 8 to 12 hours or overnight.
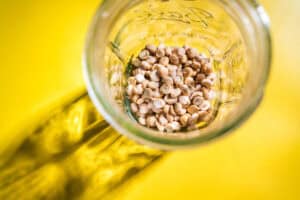
  4. Drain and rinse well. If using a jar, cover the opening with mesh or cheesecloth secured with a rubber band, then tilt the jar so excess water can drip out.
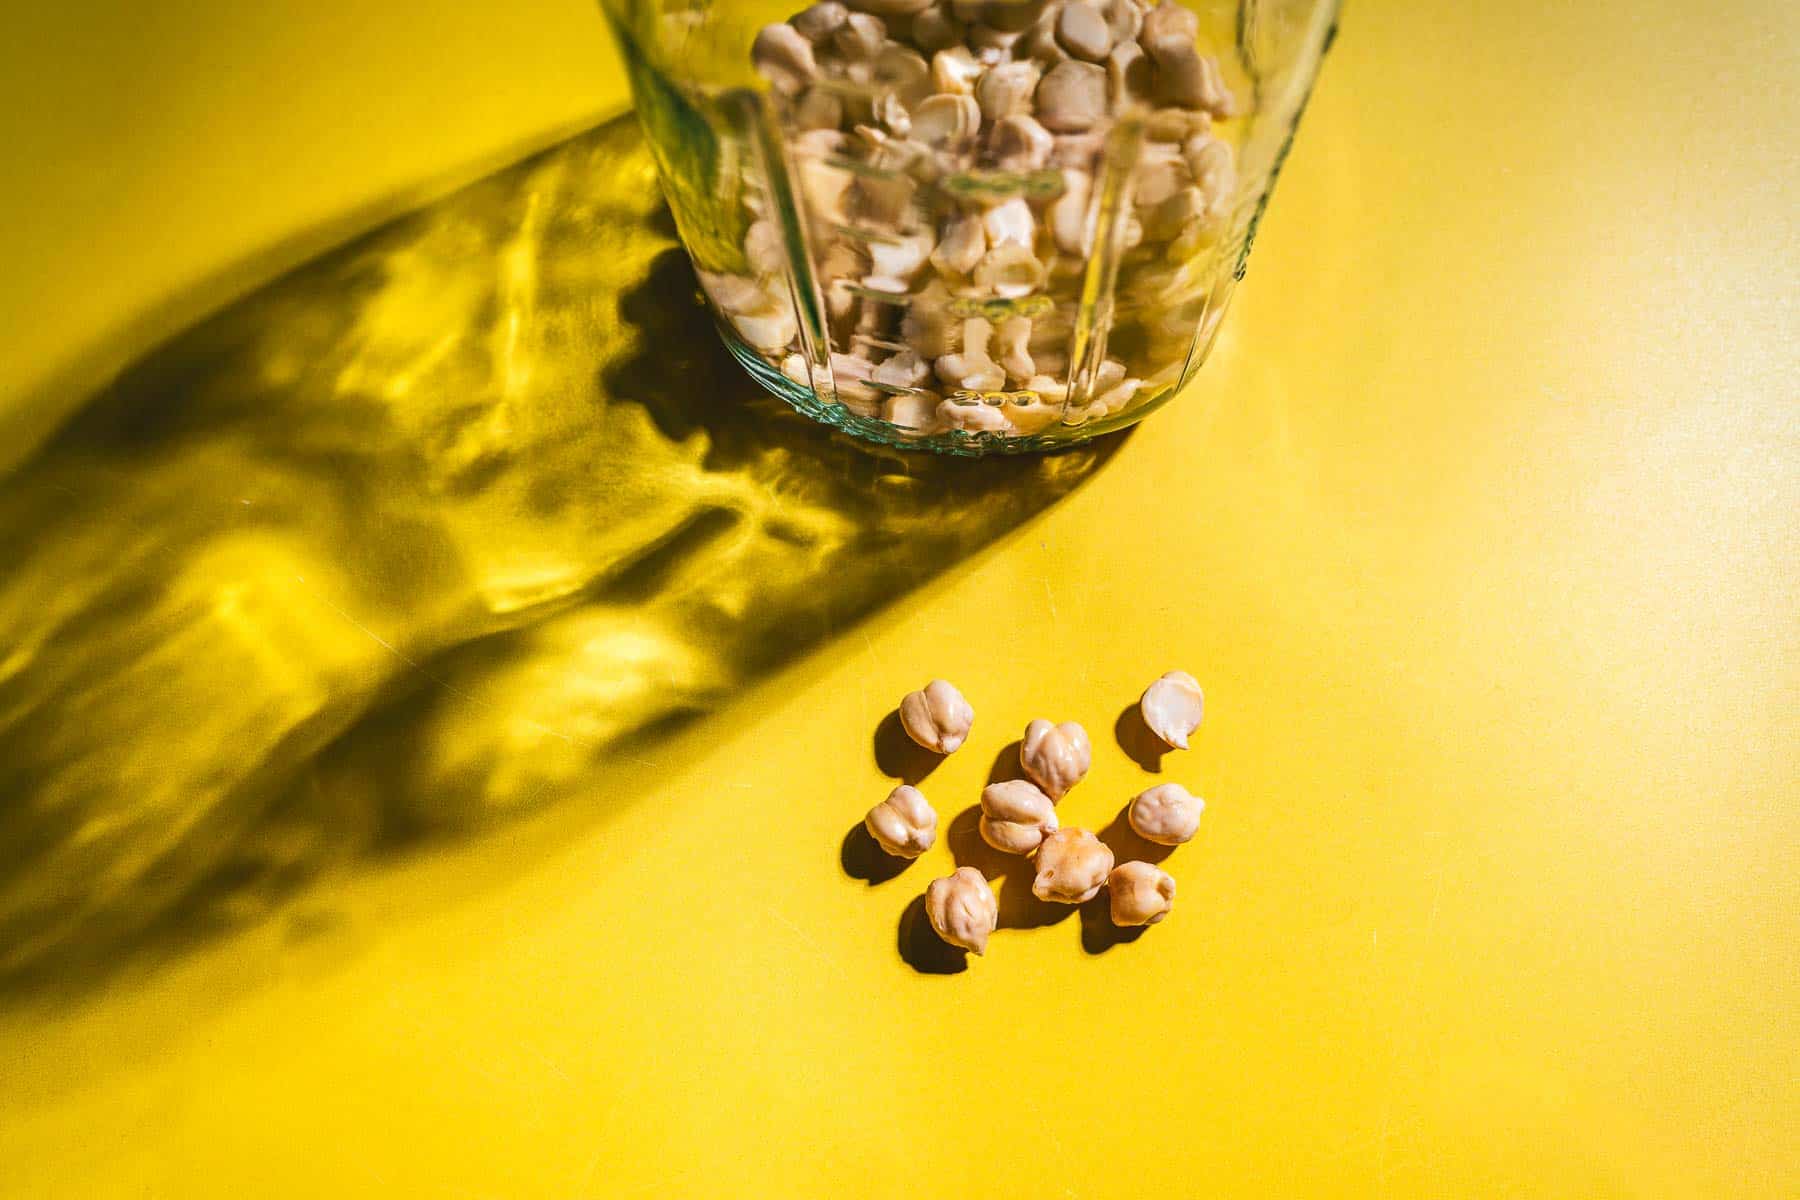
  5. Rinse and drain every 8 to 12 hours, keeping the chickpeas in a cool, dark spot between rinses. After 1 to 3 days, small white sprouts should appear.
  6. Give them a final rinse, then use right away or store.
A glass jar filled with chickpeas sits on a yellow surface, with several chickpeas scattered outside the jar and a shadow cast to the left—perfect for learning how to sprout chickpeas at home.

How to Use Sprouted Chickpeas

These chickpeas are crisp, mildly nutty, and incredibly versatile! You can use them as garnish or toss them in your favorite dishes, such as:

  • Salads
  • Grain bowls or bowl meals
  • Blended into hummus
  • Sandwiches to add crunch and texture
  • Stir-fries
  • Soups

You can also roast them in olive oil and garlic and season them with cumin for a savory snack. Yum!

A glass jar containing a pile of chickpeas sits on a bright yellow surface, photographed from above—perfect for illustrating how to sprout chickpeas at home.

Storing Chickpea Sprouts

Store any sprouted chickpeas in a sealed container and refrigerate them for up to 3 days. You can line the container with a paper towel to absorb any moisture or pat the sprouts dry before storage. This is because any signs of moisture can cause them to spoil more quickly.

While they can be frozen, I usually don’t freeze mine since the sprouts become soggy when thawed.  

A glass jar with chickpeas inside sits on a bright yellow surface, with a small pile of chickpeas next to it—perfect for showing how to sprout chickpeas at home.

more about

Legume Sprouts

  • Sprouts in a glass jar on a table.
    How to Store Bean Sprouts
  • A bowl of lentil microgreens, sprouted from seeds.
    Why Lentil Microgreens Need to Be Your Next Superfood Obsession
  • A variety of legumes in wooden scoops on a white background.
    How Long Do Dried Lentils Last? Essential Storage Tips
  • Learn how to eat sprouted lentils in a jar on a vibrant yellow background.
    How to Eat Sprouted Lentils

📖 Recipe

A glass jar filled with dried chickpeas sits on a yellow surface, with several chickpeas scattered outside the jar—perfect for demonstrating how to sprout chickpeas at home.

Sprouted Chickpeas (Easy Homemade Method)

Learn how to sprout chickpeas at home using dried chickpeas and water. This easy method produces fresh sprouted chickpeas in just a few days.
No ratings yet
Print Recipe Pin Recipe
Prep Time 10 minutes mins
Soaking and Sprouting Time 2 days d
Total Time 2 days d 10 minutes mins
Course Ingredient
Cuisine Mediterranean, Middle Eastern
Servings 1 serving
Calories 182 kcal

Equipment

  • Clean jar or bowl
  • Mesh or cheesecloth and rubber band (if using a jar)

Ingredients


  • 1/4 cup dried chickpeas garbanzo beans, preferably organic
  • Filtered water

Instructions
 

  • Rinse the chickpeas well under cool water to remove any dust or debris.
  • Place the chickpeas in a clean jar or bowl and cover them with several inches of filtered water. They will expand as they soak.
  • Let the chickpeas soak for 8 to 12 hours or overnight at room temperature.
    A glass jar filled with water and dried chickpeas, perfect for learning how to sprout chickpeas, sits on a bright yellow surface, casting a shadow.
  • After soaking, drain and rinse the chickpeas thoroughly. If using a jar, cover the mouth with a mesh lid or cheesecloth secured with a rubber band. Set the jar at an angle (or use a sprouting stand) to drain any excess water.
    A glass jar filled with chickpeas, perfect for learning how to sprout chickpeas, lies on its side on a bright yellow surface, sunlight casting dramatic shadows and reflections.
  • Rinse and drain the chickpeas every 8 to 12 hours, keeping them in a cool, dark spot in between. Continue this process for 1 to 3 days, or until small white tails begin to sprout.
    A glass jar containing dried chickpeas is placed on a bright yellow surface, casting a shadow to the left—perfect for learning how to sprout chickpeas at home.
  • Once sprouted, give them one final rinse and store in the fridge in a sealed container for up to 3 days. Enjoy!
    Nine dried chickpeas are scattered on a bright yellow surface, perfect for illustrating how to sprout chickpeas at home.

Notes

Note: Some dried chickpeas purchased from regular grocery stores have been processed in a way that they may not be likely to sprouts. For best results, select dried chickpeas that are raw, organic, whole, sold by sprouting companies, from bulk bins at natural food stores, or labeled suitable for sprouting.

Nutrition

Serving: 0.5cupCalories: 182kcalCarbohydrates: 30gProtein: 10gFat: 3gSaturated Fat: 0.3gPolyunsaturated Fat: 1gMonounsaturated Fat: 1gSodium: 12mgPotassium: 438mgFiber: 9gSugar: 5gVitamin A: 34IUVitamin C: 2mgCalcium: 53mgIron: 3mg
Tried this recipe?Let us know how it was!

Pin for Later

A glass jar filled with dried chickpeas and some scattered on a yellow surface; text reads "How to Sprout Chickpeas: A Guide to Chickpea Sprouts," offering easy tips on how to sprout chickpeas at home.
« 6 Best Growing Mats for Microgreens

About Kristen Wood

Kristen Wood is a writer, photographer, cookbook author, recipe developer, and avid sprouter. Her work has been featured in various publications including Chicago Sun-Times, Martha Stewart, Elle, Healthline, Willow & Sage Magazine, and Food Drink Life. She is also a syndicated writer for The Associated Press.

Reader Interactions

Comments

No Comments

Leave a Reply Cancel reply

Your email address will not be published. Required fields are marked *

Recipe Rating


Primary Sidebar

Welcome!

About


Footer

↑ back to top

About

  • Privacy Policy
  • About

Newsletter

  • Subscribe

Contact

  • Contact

Copyright © 2026 The Wonderful World of Sprouts

Rate This Recipe

Your vote:


A rating is required
A name is required
An email is required