


Growing microgreens at home is an excellent way to enjoy a regular supply of nutrient-rich vegetables throughout the year. This guide will provide the essential materials and know-how to help you cultivate these flavorful greens right in the comfort of your own space!
Why Should You Grow Microgreens?
Microgreens are very young and tender seedlings of herbs and vegetables harvested and consumed just before their true leaves develop. Growing them in your home comes with several benefits, including:
- Fast Growth: They are often ready for harvest within 8 - 21 days after sowing, meaning you’ll have a steady supply year-round;
- Minimal Space Required: They can be grown indoors on a shelf, sunny window sill, or countertop. You won’t need a garden or a large space in your house to accommodate growing them;
- High in Nutrition: Microgreens are very healthy for you, and some studies even suggest that they contain up to 40% higher concentration of macronutrients as compared to their mature counterparts;
- Cost-Effective: A few seeds can yield a bountiful harvest, making them much cheaper than those bought from grocery stores.
- Can Be Added to Meals: Microgreens can be added to practically anything—salads, sandwiches, soups, or even as a garnish.
What You Need For Growing Microgreens At Home
Here is the list of materials you’ll need to start growing your own microgreens:
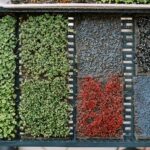
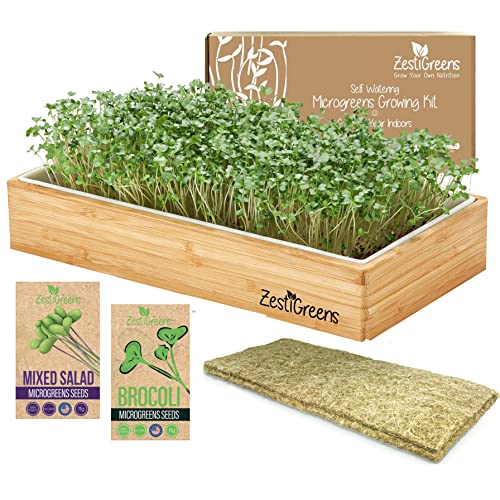
- Microgreens Seed Packets: Go with organic, non-GMO seeds so you won’t worry about chemicals or pesticides in your microgreens. Popular varieties include:
- Broccoli
- Radish
- Pea Shoots
- Basil
- Sunflower
- Arugula
- Kale
- Amaranth
- Chard
- Spinach
- Cabbage
- Cilantro
- Parsley
- Beets
- Alfalfa
- Fennel
- Containers: Seedling trays, shallow trays, wide containers with drainage holes, and plastic domes for cover.
- Growing Medium: Where the seeds grow. You can use organic potting soil, hydroponic grow mat, or coconut coir.
- Watering Spray Bottle: Used to water the seedlings gently.
- Light Source: You can set up near natural light sources (e.g., placing the tray on the window sill to get direct sunlight) or artificial ones (e.g., LED grow lights).
- Hand Rake: Used to level the soil.
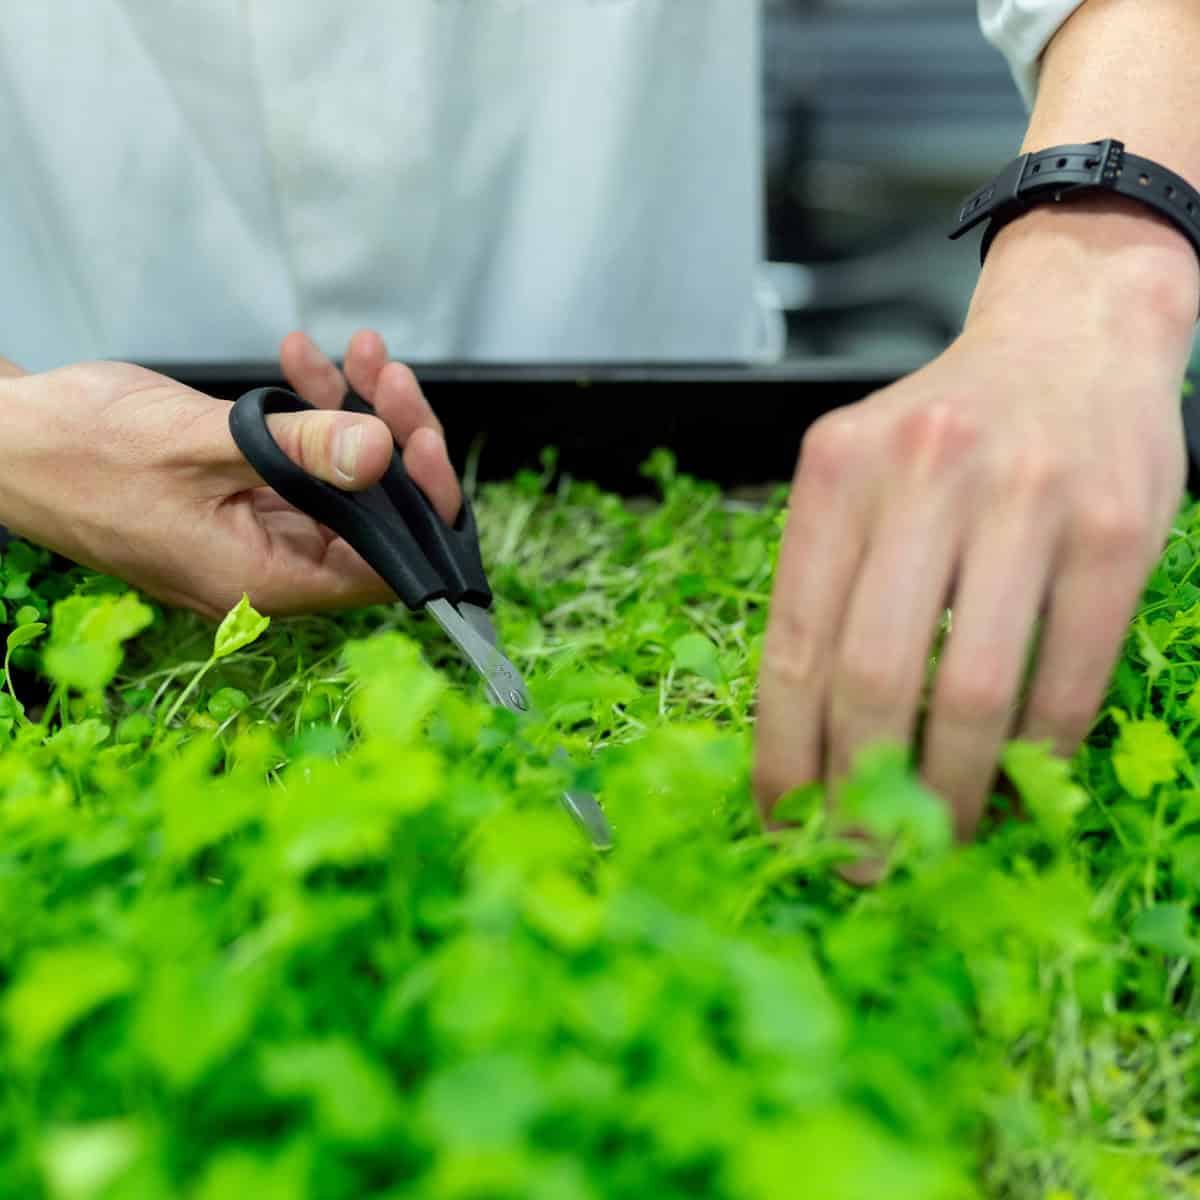
- Kitchen Scissors: Used to harvest the greens when they’re ready.

Easy Step-by-Step Guide For Growing Microgreens At Home
Step 1: Prepare Container And Growing Medium
Fill a tray with drainage holes with moist potting soil or your choice of growing medium, about 1 - 2 inches. Use a rake to level it evenly.
Step 2: Start Sowing The Seeds
Evely scatter the seeds on the surface of the soil. Afterward, you can lightly press the seeds into the growing medium or cover them with a thin layer of soil.
Step 3: Just Add Water And Cover
Use a spraying bottle to mist the seeds and soil to moisten but not thoroughly soak them. Next, cover the tray with another tray or plastic dome. This will create a dark, humid environment for the seeds’ germination.
Step 4: Let Them Germinate
Place the tray in a dark place and keep it there for up to 4 days or until the seeds germinate. Mist the seedlings as needed to ensure they don’t dry out.
Step 5: Expose Them To Light
Once the seeds have started sprouting and reached about an inch tall, remove the cover and expose them to sunlight or artificial light. Continue watering them as needed to keep the soil moist.
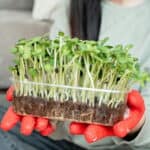
Step 6: Harvest And Enjoy
After the microgreens reach a height of 2-3 inches and develop sets of true leaves, you can start harvesting them!
Use kitchen scissors to cut them just above the soil line. Consume them as soon as possible to enjoy their fresh taste and flavor. The soil can be tossed in your compost bin.
Expert Tips For Growing Microgreens Successfully
- Use high-quality seeds and check the label for special instructions when growing them.
- Don’t use too much or too little water, as doing so will harm your microgreens.
- If you’re using natural lighting, rotate the trays daily so your microgreens grow evenly.
- If you notice the sprout wilting or yellowing, it may be caused by overwatering or poor light exposure. Make adjustments to fix it.
You Might Also Like
How to Wash Microgreens: A Step-by-Step Guide
The Best Bean Sprouting Equipment
Pin For Later

Comments
No Comments